Beef Ramen From Scratch (Worth the Effort)
The instant packets do not come close. This beef ramen takes two hours, but the broth alone justifies every minute. Here is the full process.
The broth is the whole point
Good ramen broth takes about 2 hours. There is no shortcut that produces the same result. The depth of flavor comes from slowly extracting collagen, fat, and aromatics from beef bones and charred vegetables. Rushing it gives you seasoned water.
The first time I made beef ramen from scratch, the recipe I followed said 45 minutes. It actually took over 4 hours because the broth needed time to develop. I nearly gave up at the 2-hour mark and almost ordered takeout. That broth changed how I think about patience in cooking.
The version below is the reliable 2-hour method I have settled on after testing it through 2-3 rounds of adjustment. It is a weekend project, not a weeknight dinner. Plan accordingly.
What goes into the broth
The foundation is beef bones — marrow bones, knuckle bones, or neck bones. These are the cheap cuts that most people walk past at the butcher counter. A pound of beef bones runs $2-$4 at most grocery stores. You need about 2 pounds for a batch that serves 4.
- 2 lbs beef bones (marrow or knuckle)
- 1 large onion, halved
- 4-5 garlic cloves, smashed
- 2-inch piece of ginger, sliced
- 2 tablespoons soy sauce
- 1 tablespoon fish sauce (optional but adds depth)
- 8 cups water
- 1 teaspoon black peppercorns
- 2 star anise pods
Building the broth, step by step
- Roast the bones. Spread the bones on a sheet pan and roast at 425°F / 220°C for 30-40 minutes until deeply browned. This is not optional. Roasting creates the Maillard reaction compounds that give the broth its color and savory depth. Unroasted bones make a pale, flat-tasting broth.
- Char the aromatics. While the bones roast, halve the onion and place it cut-side down in a dry skillet over high heat. Let it char for 5 minutes without moving it. Do the same with the ginger slices. The blackened surfaces add a smoky sweetness.
- Combine and simmer. Transfer the roasted bones, charred onion, ginger, garlic, peppercorns, and star anise to a large pot. Add 8 cups of cold water. Bring to a boil, then immediately reduce to a bare simmer — small bubbles breaking the surface, not a rolling boil.
- Skim. In the first 15-20 minutes, grey foam and impurities rise to the surface. Skim these off with a spoon. This keeps the broth clear. After the initial skimming, you can mostly leave it alone.
- Simmer for 1.5-2 hours. Keep the heat low. A hard boil makes the broth cloudy and greasy. A gentle simmer extracts flavor and collagen slowly, producing a broth that is clear but rich.
- Strain and season. Pour the broth through a fine mesh strainer. Discard the solids. Add the soy sauce and fish sauce. Taste and adjust the salt. The broth should be savory on its own — not bland, not salty. It will intensify slightly when served over noodles.
The noodles
Fresh ramen noodles from an Asian grocery store are the move here. They cost $2-$3 per package and cook in 2-3 minutes. The texture — chewy, springy, slightly alkaline — is what separates ramen from any other noodle soup.
If fresh noodles are not available, dried ramen noodles (not the instant kind) from brands like Sun Noodle or Hakubaku work. Instant ramen noodles from the packets are a different product entirely. They will not hold up in this broth.
Cook the noodles separately in boiling water according to the package directions. Drain and add them to the bowl right before serving. Cooking noodles directly in the broth makes the broth starchy and muddy.
The toppings
Toppings are where you personalize the bowl. Here is what I use consistently:
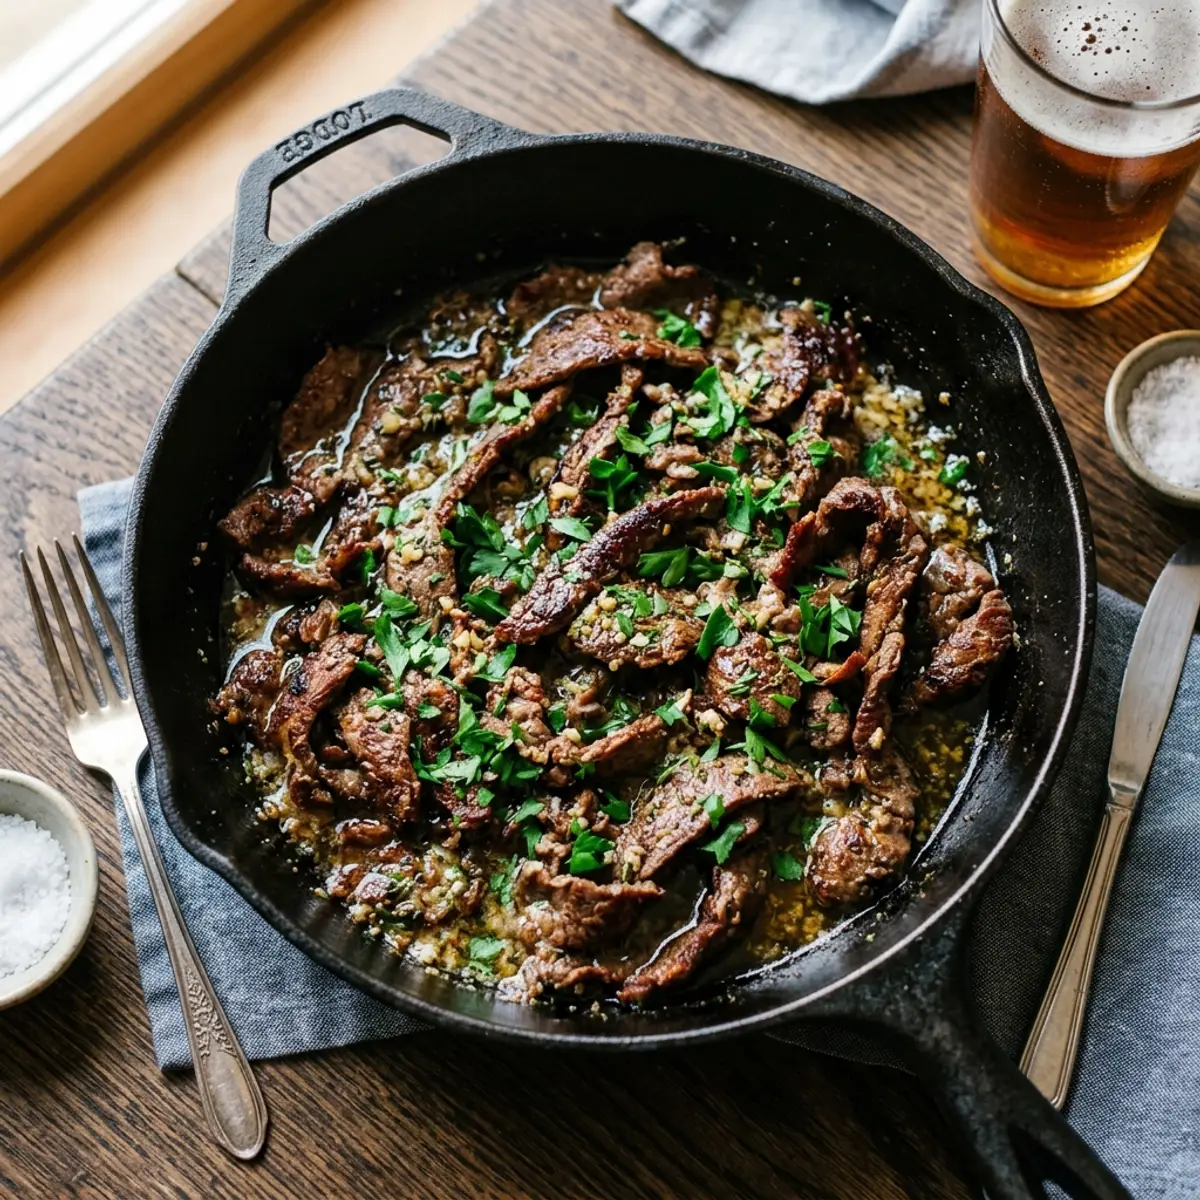
- Thinly sliced beef. Flank steak or sirloin, sliced against the grain as thin as possible. Sear in a hot pan for 30-45 seconds per side. The residual heat from the broth finishes the cooking in the bowl.
- Green onions, sliced thin
- Nori sheets, halved
- Soft-boiled egg (see below)
- Sesame seeds
- Chili oil or sriracha for heat
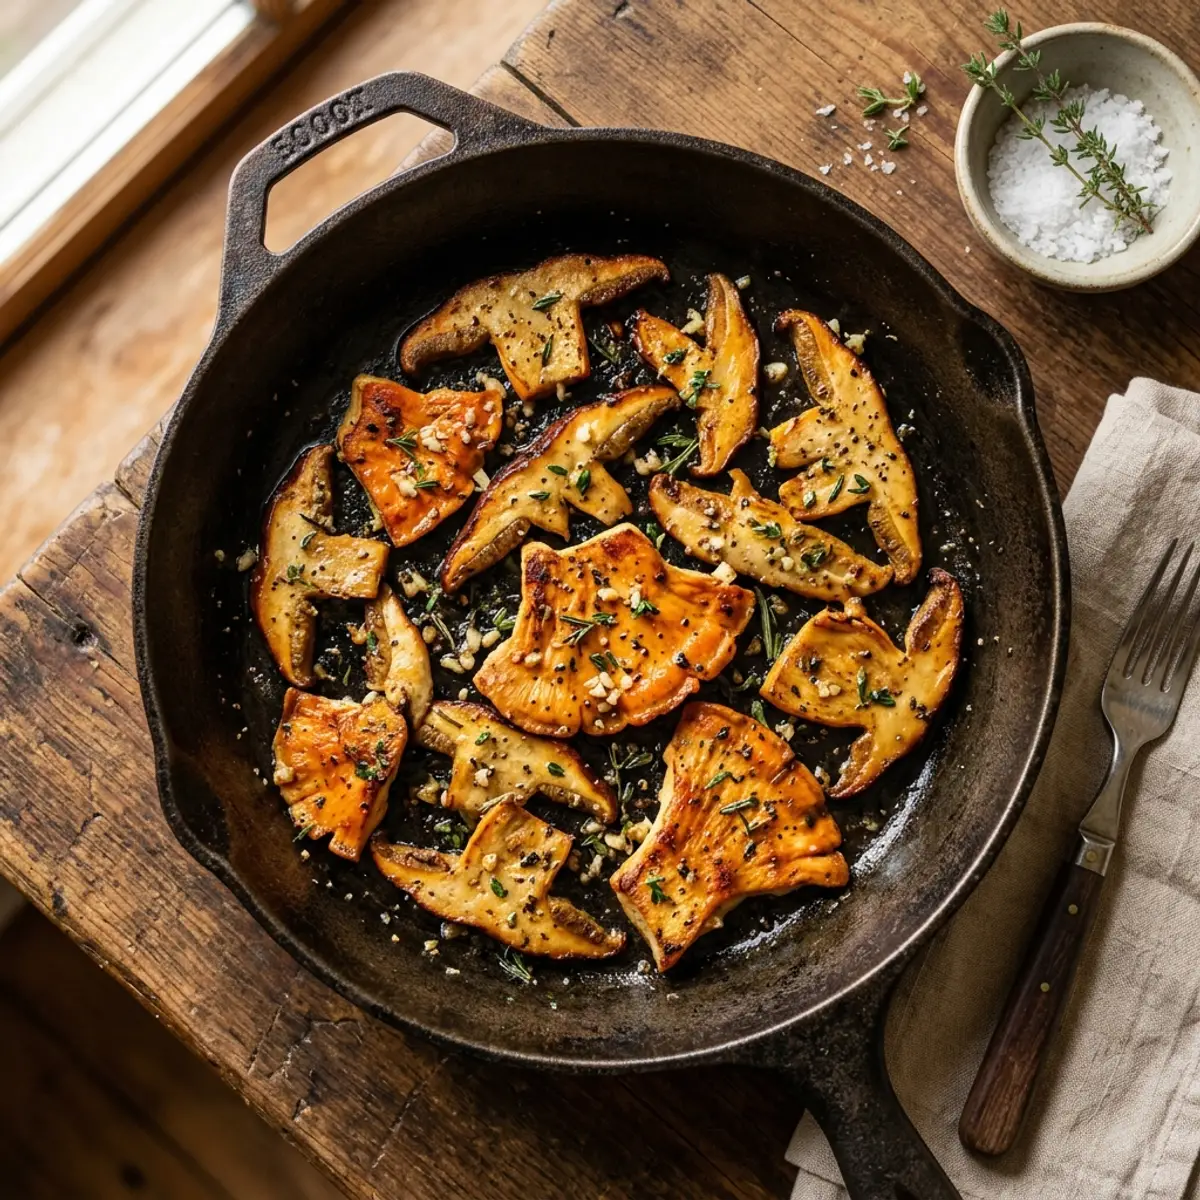
Optional additions: corn kernels, bean sprouts, sauteed mushrooms, blanched spinach. Add what you like. Leave out what you do not.
The soft-boiled egg
Bring a pot of water to a rolling boil. Gently lower the eggs in (straight from the fridge is fine). Boil for exactly 6 minutes and 30 seconds. Transfer immediately to an ice bath for 5 minutes. Peel under running water.
The result is a set white and a jammy, runny yolk. If you want the yolk slightly more set, go to 7 minutes. Past 8 minutes you are in hard-boiled territory, which works but is not what most ramen shops serve.
For a marinated egg (ajitsuke tamago), peel the eggs and soak them in a mix of 1/4 cup soy sauce, 1/4 cup mirin, and 1/2 cup water for 4-12 hours in the fridge. The longer they soak, the more deeply the seasoning penetrates. These keep in the marinade for up to 3 days.
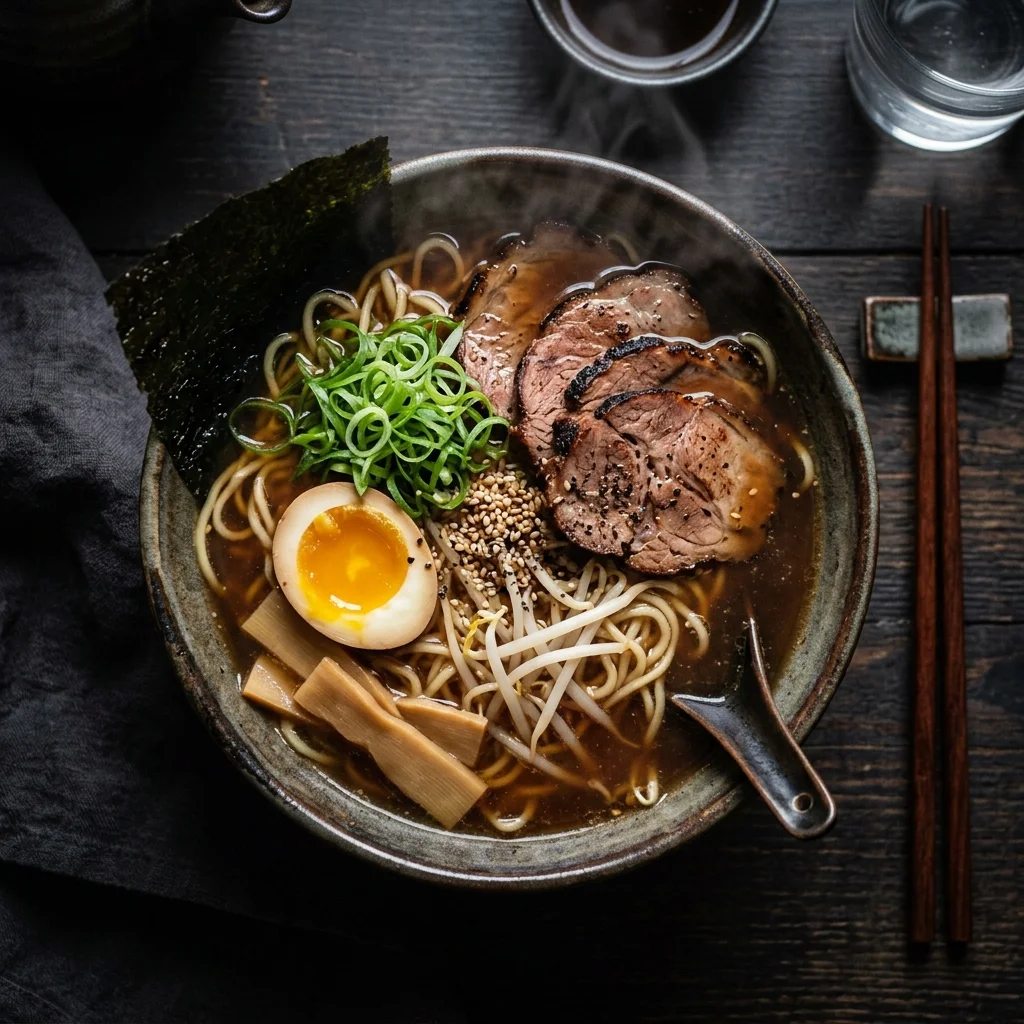
Assembly
- Place cooked noodles in a deep bowl.
- Ladle the hot broth over the noodles — enough to nearly cover them.
- Arrange the sliced beef, halved egg, nori, and green onions on top.
- Add sesame seeds and chili oil.
- Serve immediately. Ramen does not hold. The noodles absorb the broth and get soft within 10 minutes.
This serves 4. The broth can be made a day ahead and refrigerated — it actually improves overnight as the flavors meld. Reheat it gently before assembling. The full measurements are on the beef ramen recipe page.
If you want another slow-cooked beef dish that rewards patience, the beef back ribs use the same low-and-slow principle. And for more on choosing the right beef cuts for long cooks, that guide covers which cuts break down and which dry out.
Gear that helps
- Large stockpot 12-quart — $30-$50. You need the volume for a proper broth.
- Fine mesh strainer — $10-$15. Strains out bones and aromatics for a clean broth.
- Ramen bowls (set of 4) — $20-$30. Wide enough for toppings, deep enough for broth.
Frequently Asked Questions
Can I use store-bought broth as a base?
You can, but the result is noticeably thinner. If time is the constraint, start with boxed beef broth and simmer it with the charred onion, ginger, garlic, and star anise for 30-45 minutes. It is better than broth straight from the box, though it still will not match bone broth.
Can I make the broth in a slow cooker?
Yes. Brown the bones in the oven first, then transfer everything to the slow cooker on low for 6-8 hours. The result is similar to the stovetop method but hands-off. The same slow cooker principles from the beef cuts guide apply.
How do I store leftover broth?
Fridge for up to 5 days, freezer for up to 3 months. Good bone broth will gel when refrigerated — that is the collagen doing its job. It liquefies again when reheated.
What if my broth is too greasy?
Refrigerate it overnight. The fat solidifies on the surface and lifts off in a single layer. Discard it or keep a tablespoon of it for flavor — your call.
Do I have to use fish sauce?
No, but it adds a savory depth (umami) that is hard to replicate with other ingredients. If the smell puts you off, know that it cooks out entirely. You will not taste "fish" — you will taste a broth that is somehow more complete. A bottle costs $3-$4 and lasts for months. Bon Appetit has a good primer on why it works.