Reverse Sear: The Only Steak Method You Need
Forget everything else. The reverse sear gives you edge-to-edge medium-rare with a crust that rivals any steakhouse. Here is how to do it at home.
What is the reverse sear
Traditional method: sear the steak in a hot pan first, then finish in the oven. Reverse sear flips that. You start the steak in a low oven (250°F / 120°C) until the interior reaches your target temperature, then sear it in a ripping-hot cast iron pan for 60-90 seconds per side.
The result is edge-to-edge medium-rare with a thin, dark crust. No grey band of overcooked meat between the surface and the pink center. The steak looks like something a steakhouse charges $60 for.
Why it works better than sear-first
When you sear first, the outside of the steak is already at 400°F+ while the inside is still raw. By the time the center reaches 130°F / 54°C (medium-rare), the outer quarter-inch has blown past well-done. That grey ring is unavoidable with the traditional method on thick cuts.
The low oven brings the entire steak up evenly. By the time it reaches 115-120°F internally, the meat is the same temperature from edge to center. The final sear only needs to cook the outermost surface — 60-90 seconds of intense heat. That is not enough time to overcook anything beneath it.
J. Kenji Lopez-Alt documented this method extensively, and his testing matches what I have found at home. The science is straightforward: slow heat gives you control, fast heat gives you crust. Doing them in the right order means you get both.
What you need
- A thick steak (1.5 inches or more). Thin steaks cook too fast in the oven for the reverse sear to matter. Below 1 inch, just pan-sear the whole thing.
- A cast iron skillet. $25-$40 for a 12-inch Lodge. It holds heat better than anything else at that price. Preheat it for 5 minutes on high before the steak goes in.
- An instant-read thermometer. $10-$15 and it removes all guesswork. Pull the steak from the oven at 115-120°F — the sear will carry it up to 130°F. No cutting into the meat to check. No poking and hoping.
- A wire rack on a sheet pan. For the oven stage. The rack lets air circulate under the steak so it cooks evenly and the bottom does not steam.
My first tomahawk steak was cooked on a thin stainless steel pan from a discount store. The steak did not sear — it steamed. I ate $70 worth of grey, sad meat. The next day I bought a cast iron skillet for $30 and have not used anything else for searing since.
The method, step by step
- Season the steak. Salt and pepper, both sides, generously. Do this at least 40 minutes before cooking, or right before — not in between. The 40-minute window lets the salt draw out moisture then reabsorb it. At 10-20 minutes, the moisture is sitting on the surface and you get a wet steak that will not sear well.
- Oven at 250°F. Place the steak on a wire rack over a sheet pan. Put it in the oven.
- Monitor the temperature. Check every 15-20 minutes with the thermometer. For a 1.5-inch ribeye, this usually takes 30-45 minutes. For a 2+ inch tomahawk, expect 45 minutes to an hour. Pull it when the center reads 115-120°F.
- Rest briefly while the pan heats. Take the steak out and let it sit while you get the cast iron screaming hot. 5 minutes on high heat. Add a thin layer of high-smoke-point oil (avocado oil works well).
- Sear. 60-90 seconds per side. Do not move the steak once it hits the pan. You want consistent contact with the hot surface. Flip once.
- Butter baste (optional but recommended). In the last 30 seconds, add a tablespoon of butter, a smashed garlic clove, and a sprig of rosemary. Tilt the pan and spoon the foaming butter over the steak. This adds flavor and helps the crust develop evenly.
- Rest again. 8-10 minutes on a cutting board. Then slice against the grain.
Resting is not optional
Cutting into a steak right after cooking loses 20-30% of its juices to the cutting board. Resting for 8-10 minutes lets the proteins relax and reabsorb that liquid. You can test this yourself — cut one steak immediately and rest the other. The difference is visible. The rested steak is juicier. The other one is sitting in a puddle.
Do not tent it with foil. The trapped steam softens the crust you just built. Just leave it on the board. It will not get cold in 8 minutes.
Which steaks work best
The reverse sear is best for thick, well-marbled cuts:
- Ribeye (bone-in or boneless): The best all-around steak for this method. The fat marbling bastes the meat from the inside.
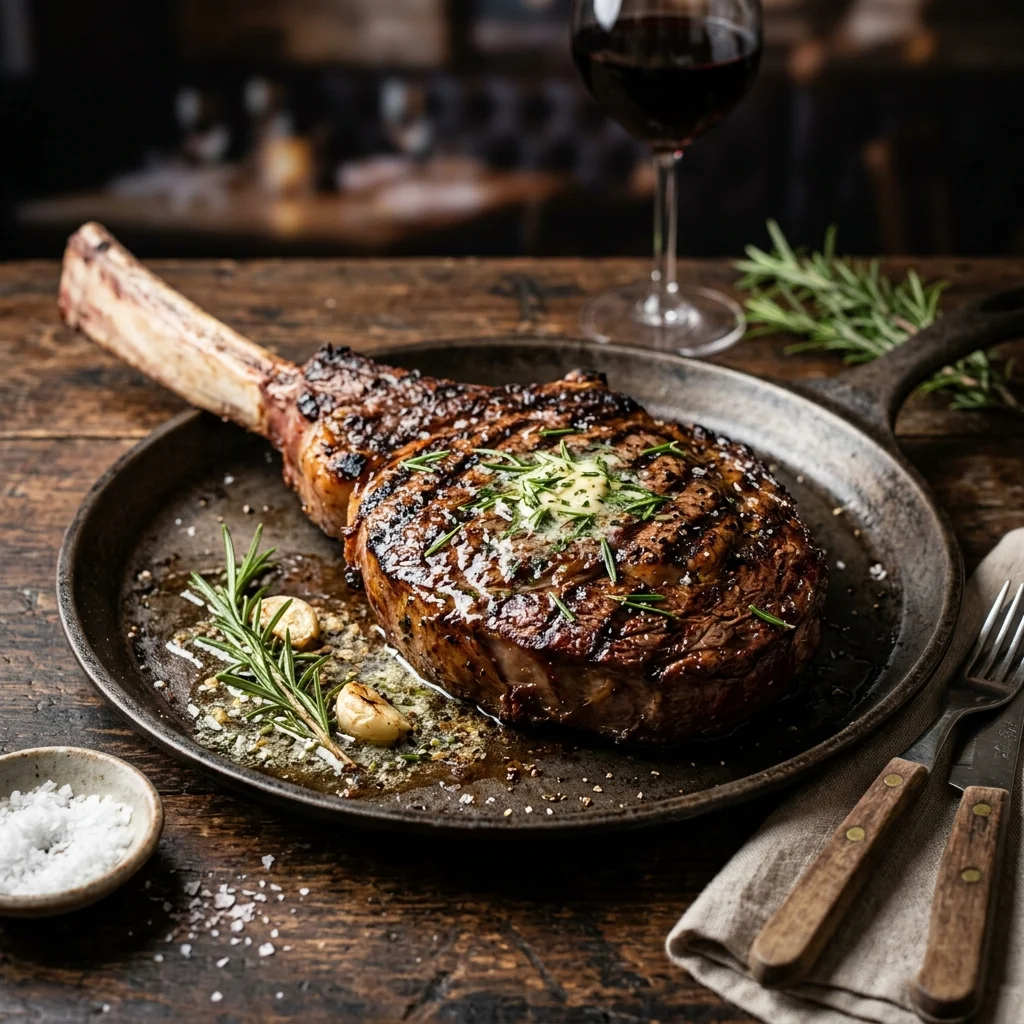
- Tomahawk: A bone-in ribeye with the full rib bone attached. Costs $45-$70 per steak. This is a special occasion cut, not a Tuesday dinner. The tomahawk steak recipe covers it specifically.
- New York strip: Less marbling than ribeye but a tighter, beefier texture. Works well with reverse sear at 1.5+ inches.
- Filet mignon: Lean and thick. The reverse sear helps because this cut dries out fast with direct high heat. Not much fat to compensate for overcooking.
Skip the reverse sear for thin steaks (under 1 inch), skirt steak, or flank steak. Those cook in 3-4 minutes total over high heat. The oven step adds nothing. For a faster steak dinner, the steak quesadilla recipe uses thin-sliced steak that goes straight to the pan.
If you want to apply the same patience-over-speed principle to a different protein, the chicken brine guide covers how time and salt do more for flavor than any spice rub.
Gear that helps
- Lodge 12-inch cast iron skillet — $25-$40. Holds heat better than anything else at this price.
- Instant-read thermometer — $10-$15. Pull at 115-120°F for the oven stage.
- Wire rack and sheet pan set — $15-$20. For the oven stage so air circulates under the steak.
Frequently Asked Questions
Can I reverse sear on a grill?
Yes. Set up a two-zone fire — coals on one side, nothing on the other. Start the steak on the cool side with the lid closed until it hits 115-120°F internally. Then move it directly over the coals for the sear. Same concept, different heat source.
What if I do not have a cast iron skillet?
A heavy stainless steel pan works but takes longer to build up heat. Carbon steel is another good option. Avoid non-stick — it cannot handle the temperatures needed for a proper sear and the coatings degrade above 500°F.
What temperature for medium instead of medium-rare?
Pull at 125°F for medium-rare (finishing around 130°F after searing and resting). For medium, pull at 135°F (finishing around 140°F). Past medium, the reverse sear loses most of its advantage because the internal temp is high enough that the grey band appears anyway.
How do I know the pan is hot enough?
Hold your hand 6 inches above the surface. If you can feel intense heat immediately, it is ready. A drop of water should evaporate on contact — not sizzle and roll around. If it rolls, keep waiting. Americas Test Kitchen has a good visual reference for this.
Do I need to oil the steak or the pan?
Oil the steak, not the pan. A thin coat of avocado oil on the steak prevents sticking and puts the oil exactly where the heat contact is. Oil in the pan often smokes before the steak goes in.